Glacier Hiking in Iceland: The Complete Adventure Guide
There are few places in the world with glaciers as easily accessible as those found on Iceland’s south coast. No need to climb a huge mountain or take a helicopter, simply step out of your car and there they are! Glaciers are one of Iceland’s defining features, so naturally, hiking across one is a bucket list item for many travellers.
What can you see on the glacier?

Most commercial glacier hikes will focus on educating guests about glaciers history, formation and dynamics, as well as visiting the most impressive features and views that the glacier can offer.
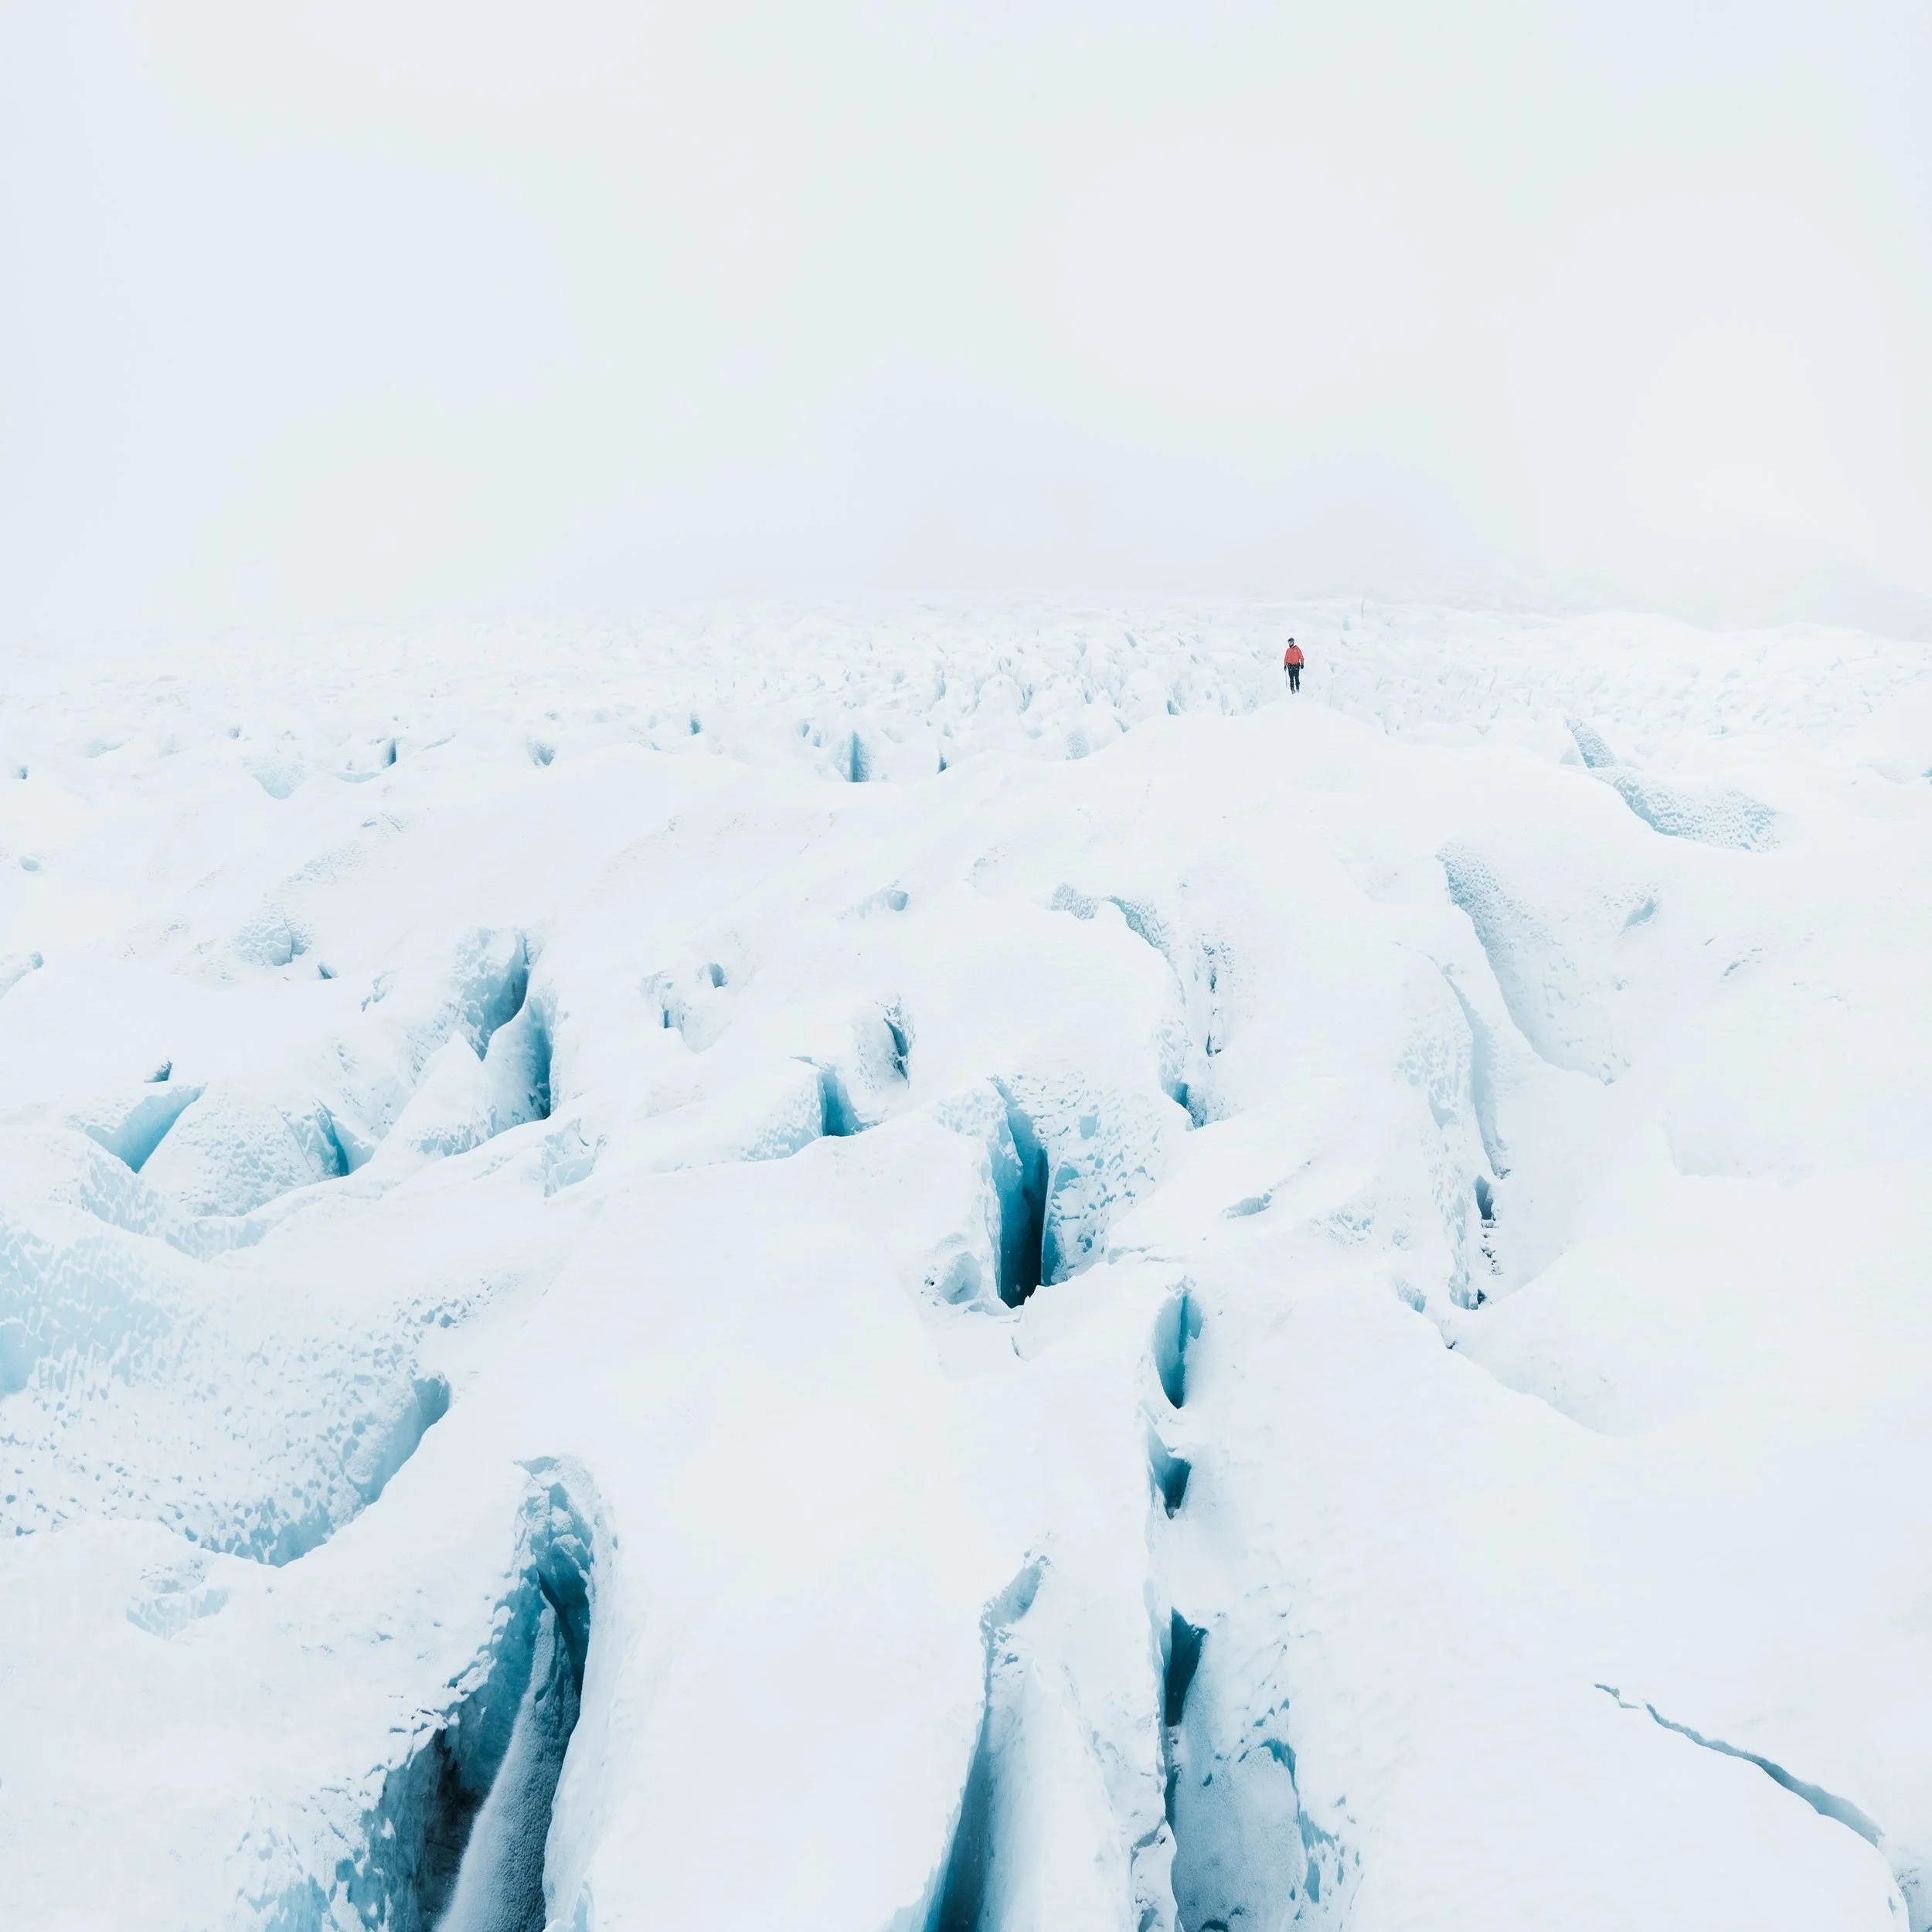
Glacial features such as crevasses and moulins are the main attraction. Crevasses are cracks in the ice which form when something changes in the ice flow- direction, speed, angle etc.- and can form up to 50m deep! Moulins are meltwater drainage channels (think drainpipes) which can form to similar depths, often as a vertical hole into the ice.
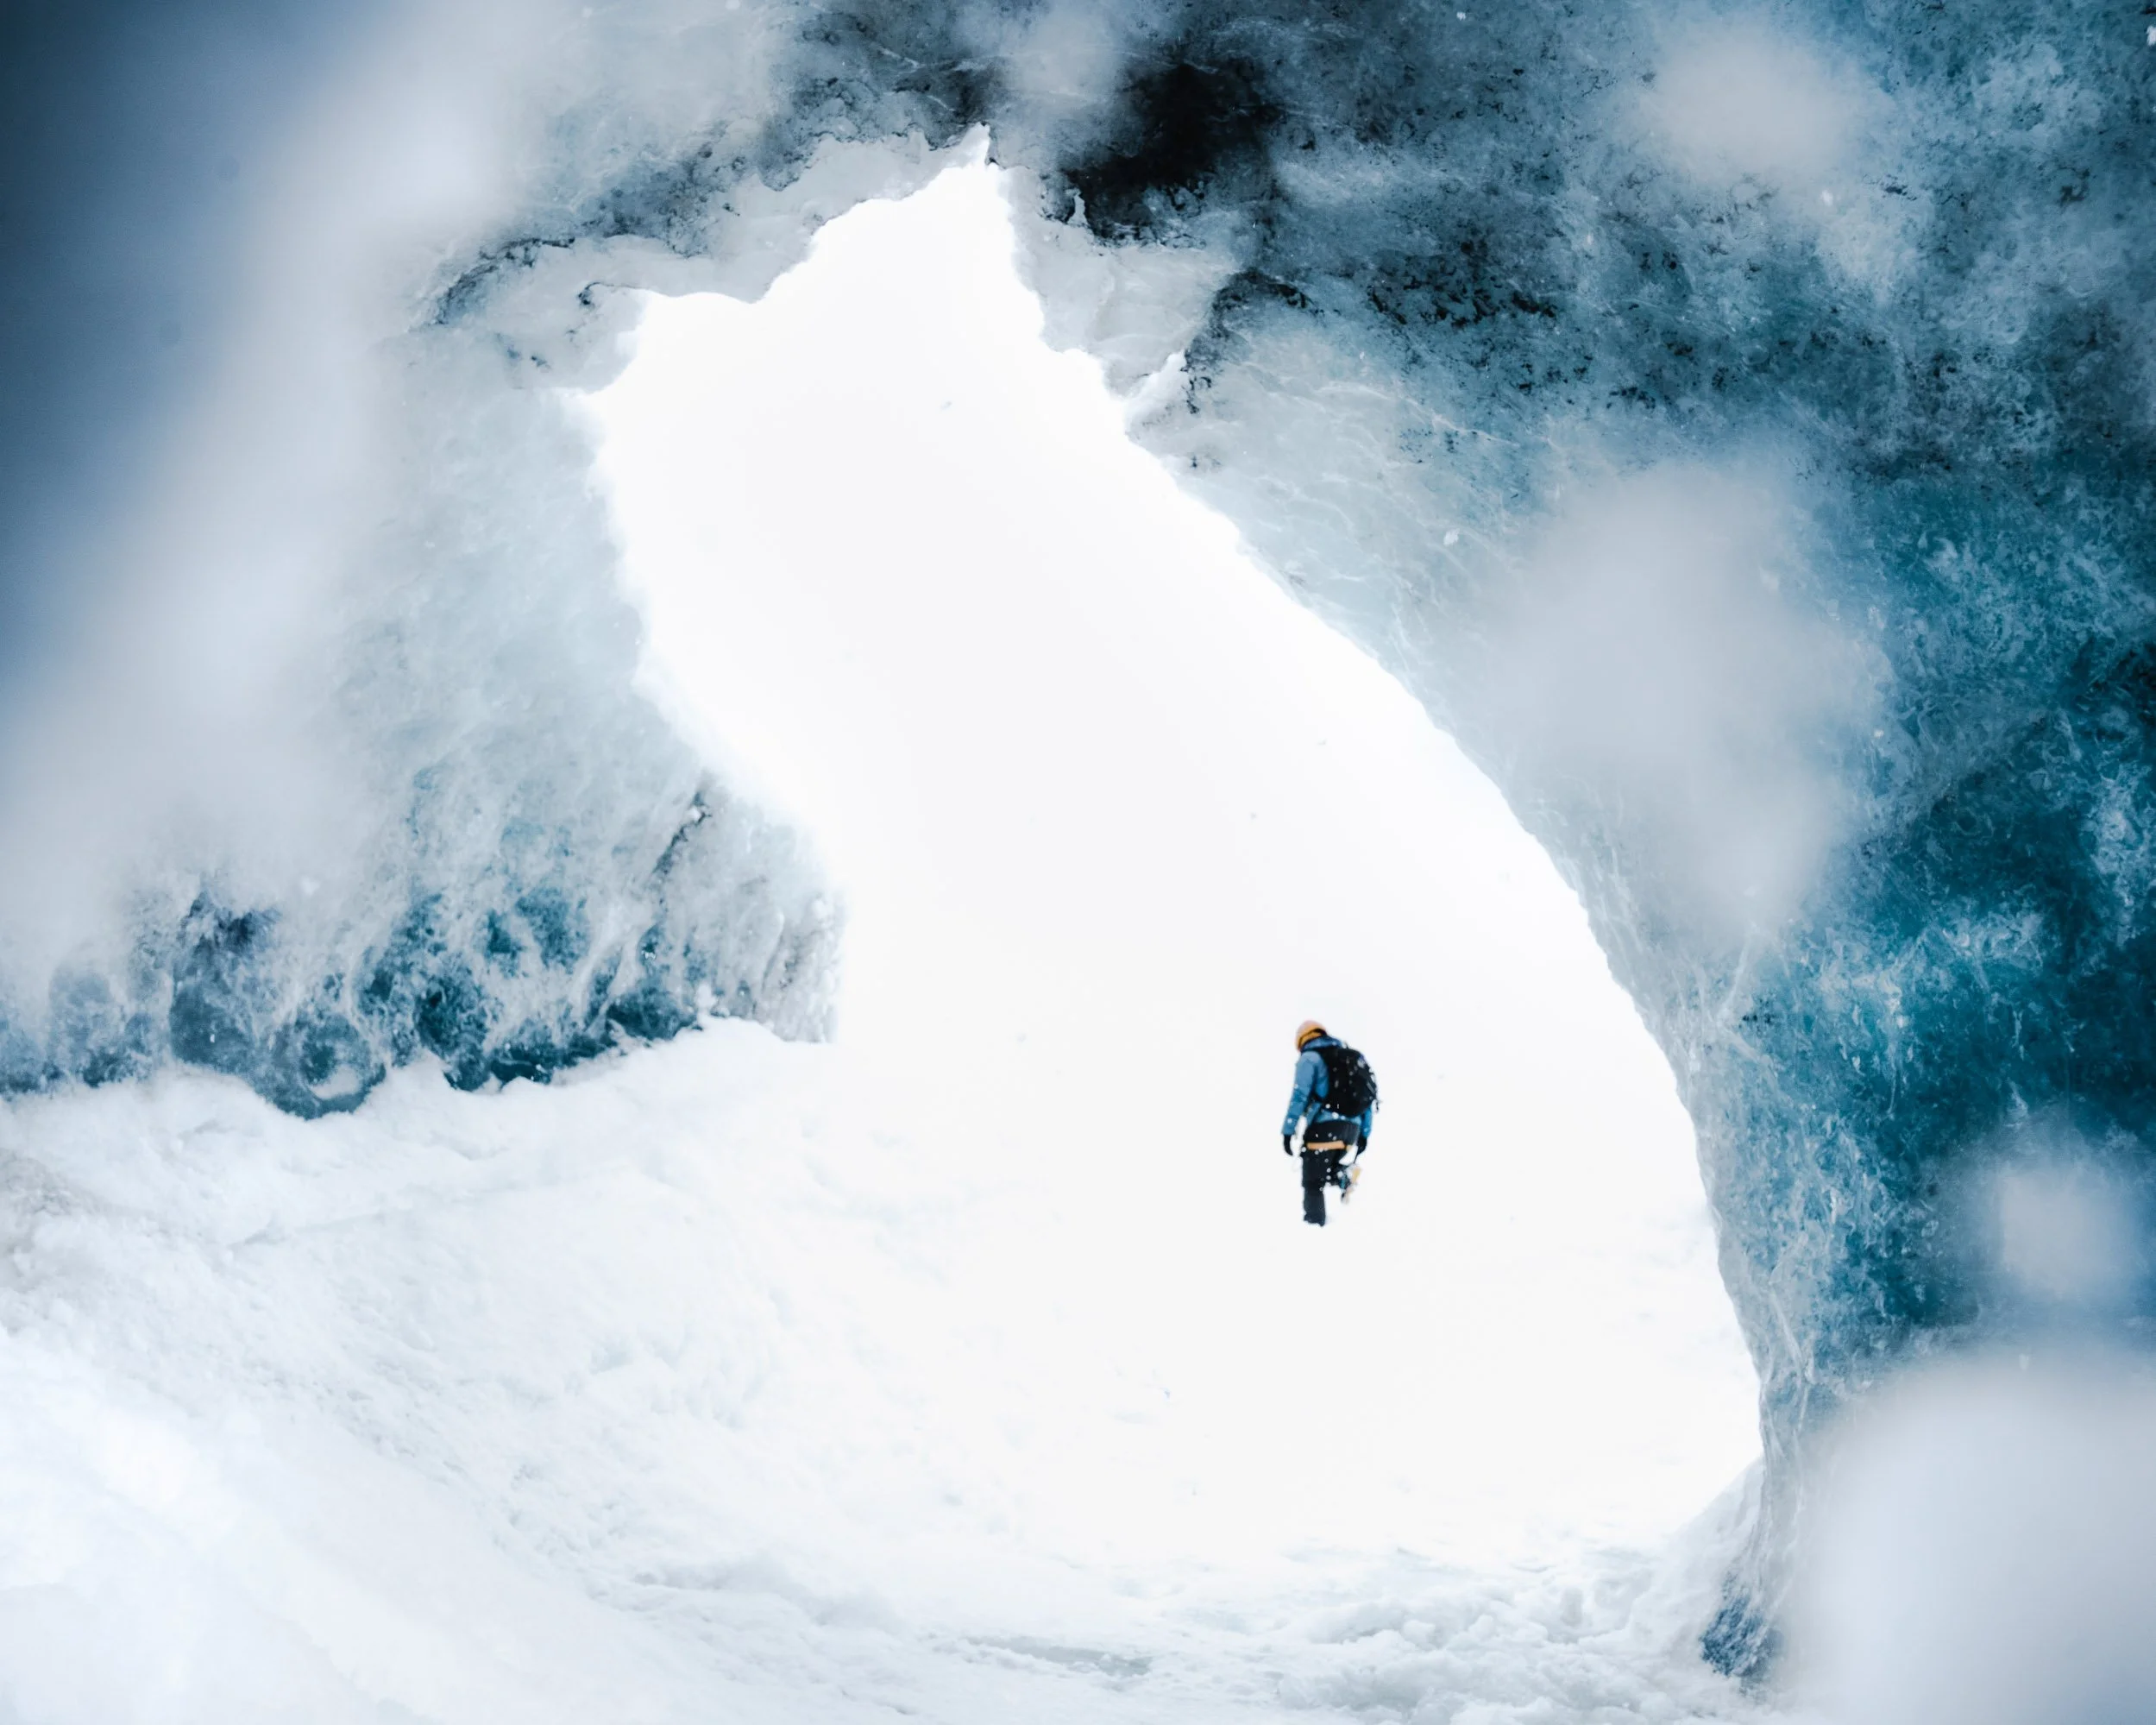
If you are lucky, you may get to see some rarer features such as compression arches, small tunnels and, in the winter, ice caves.
Glacier tours don’t usually have a main “objective”, but are focused on enjoying the journey and showcasing the most interesting parts of the glacier.
Recognising a glacier name
Although the Icelandic language can look intimidating, it doesn’t need to be. Often, place names are compound words i.e. multiple words squished together, to form one long word.
The word for glacier in Icelandic is jökull. So whenever you see a word ending in -jökull, this will refer to a glacier. Examples include Sólheimajökull, Vatnajökull, Mýrdalsjökull, Fláajökull etc.
Winter or summer?
Glaciers are beautiful at any time of year, however there are some key differences between winter and summer. In winter, the ice is bullet hard, clear and very slippery. This looks incredible but introduces extra risks associated with tripping and sliding. This, in combination with the shorter days and sometimes deep snow, means that we are more limited in where and how far we can explore in the winter. One of the major advantages of a winter trip is being able to visit an ice cave. These natural water channels open to us when temperatures drop, and are only safely and predictably accessible during the winter months.
In summer, the surface of the glacier melts and cracks, leaving a crust of crunchy ice that our crampons can easily grip into. This allows us to explore more technical and steeper terrain, which would be too time-consuming or risky to explore during the cold winter months. Although not guaranteed, it is still often possible to find glimpses of clear blue ice in cracks, holes and tunnels during the summer.
Overall, I think that winter is better for admiring the clear, blue ice and seeing large features such as ice caves, but summer is better for exploring the glacier and a sense of adventure.
What to wear?
Be prepared for rain at any time of year- this means bringing fully waterproof jacket and pants with you on your trip. Personally, I prefer to wear a relatively thin/non-insulated waterproof layer, with warmer layers underneath if necessary.
On a dry day in summer, a rough clothing guide would look something like this:
Sturdy hiking boots
Thin merino wool socks (switch for thicker in winter)
Windproof hiking pants
Thin baselayer
Warm midlayer e.g. fleece
Windproof jacket
Warm hat and gloves
Cap
Sunglasses
Even if the day starts out sunny, you want to have enough layers to stay warm if the wind picks up. I will switch out the windproof jacket and pants for waterproof, depending on the forecast.
For winter, you should add warm baselayers (e.g. merino wool) and a big, warm insulated jacket. This stays in my bag when we are hiking, but comes out as soon as we stop moving and producing heat.
Where can you hike on the glacier?
In Iceland, there are 3 main areas where the majority of glacier tour companies operate.
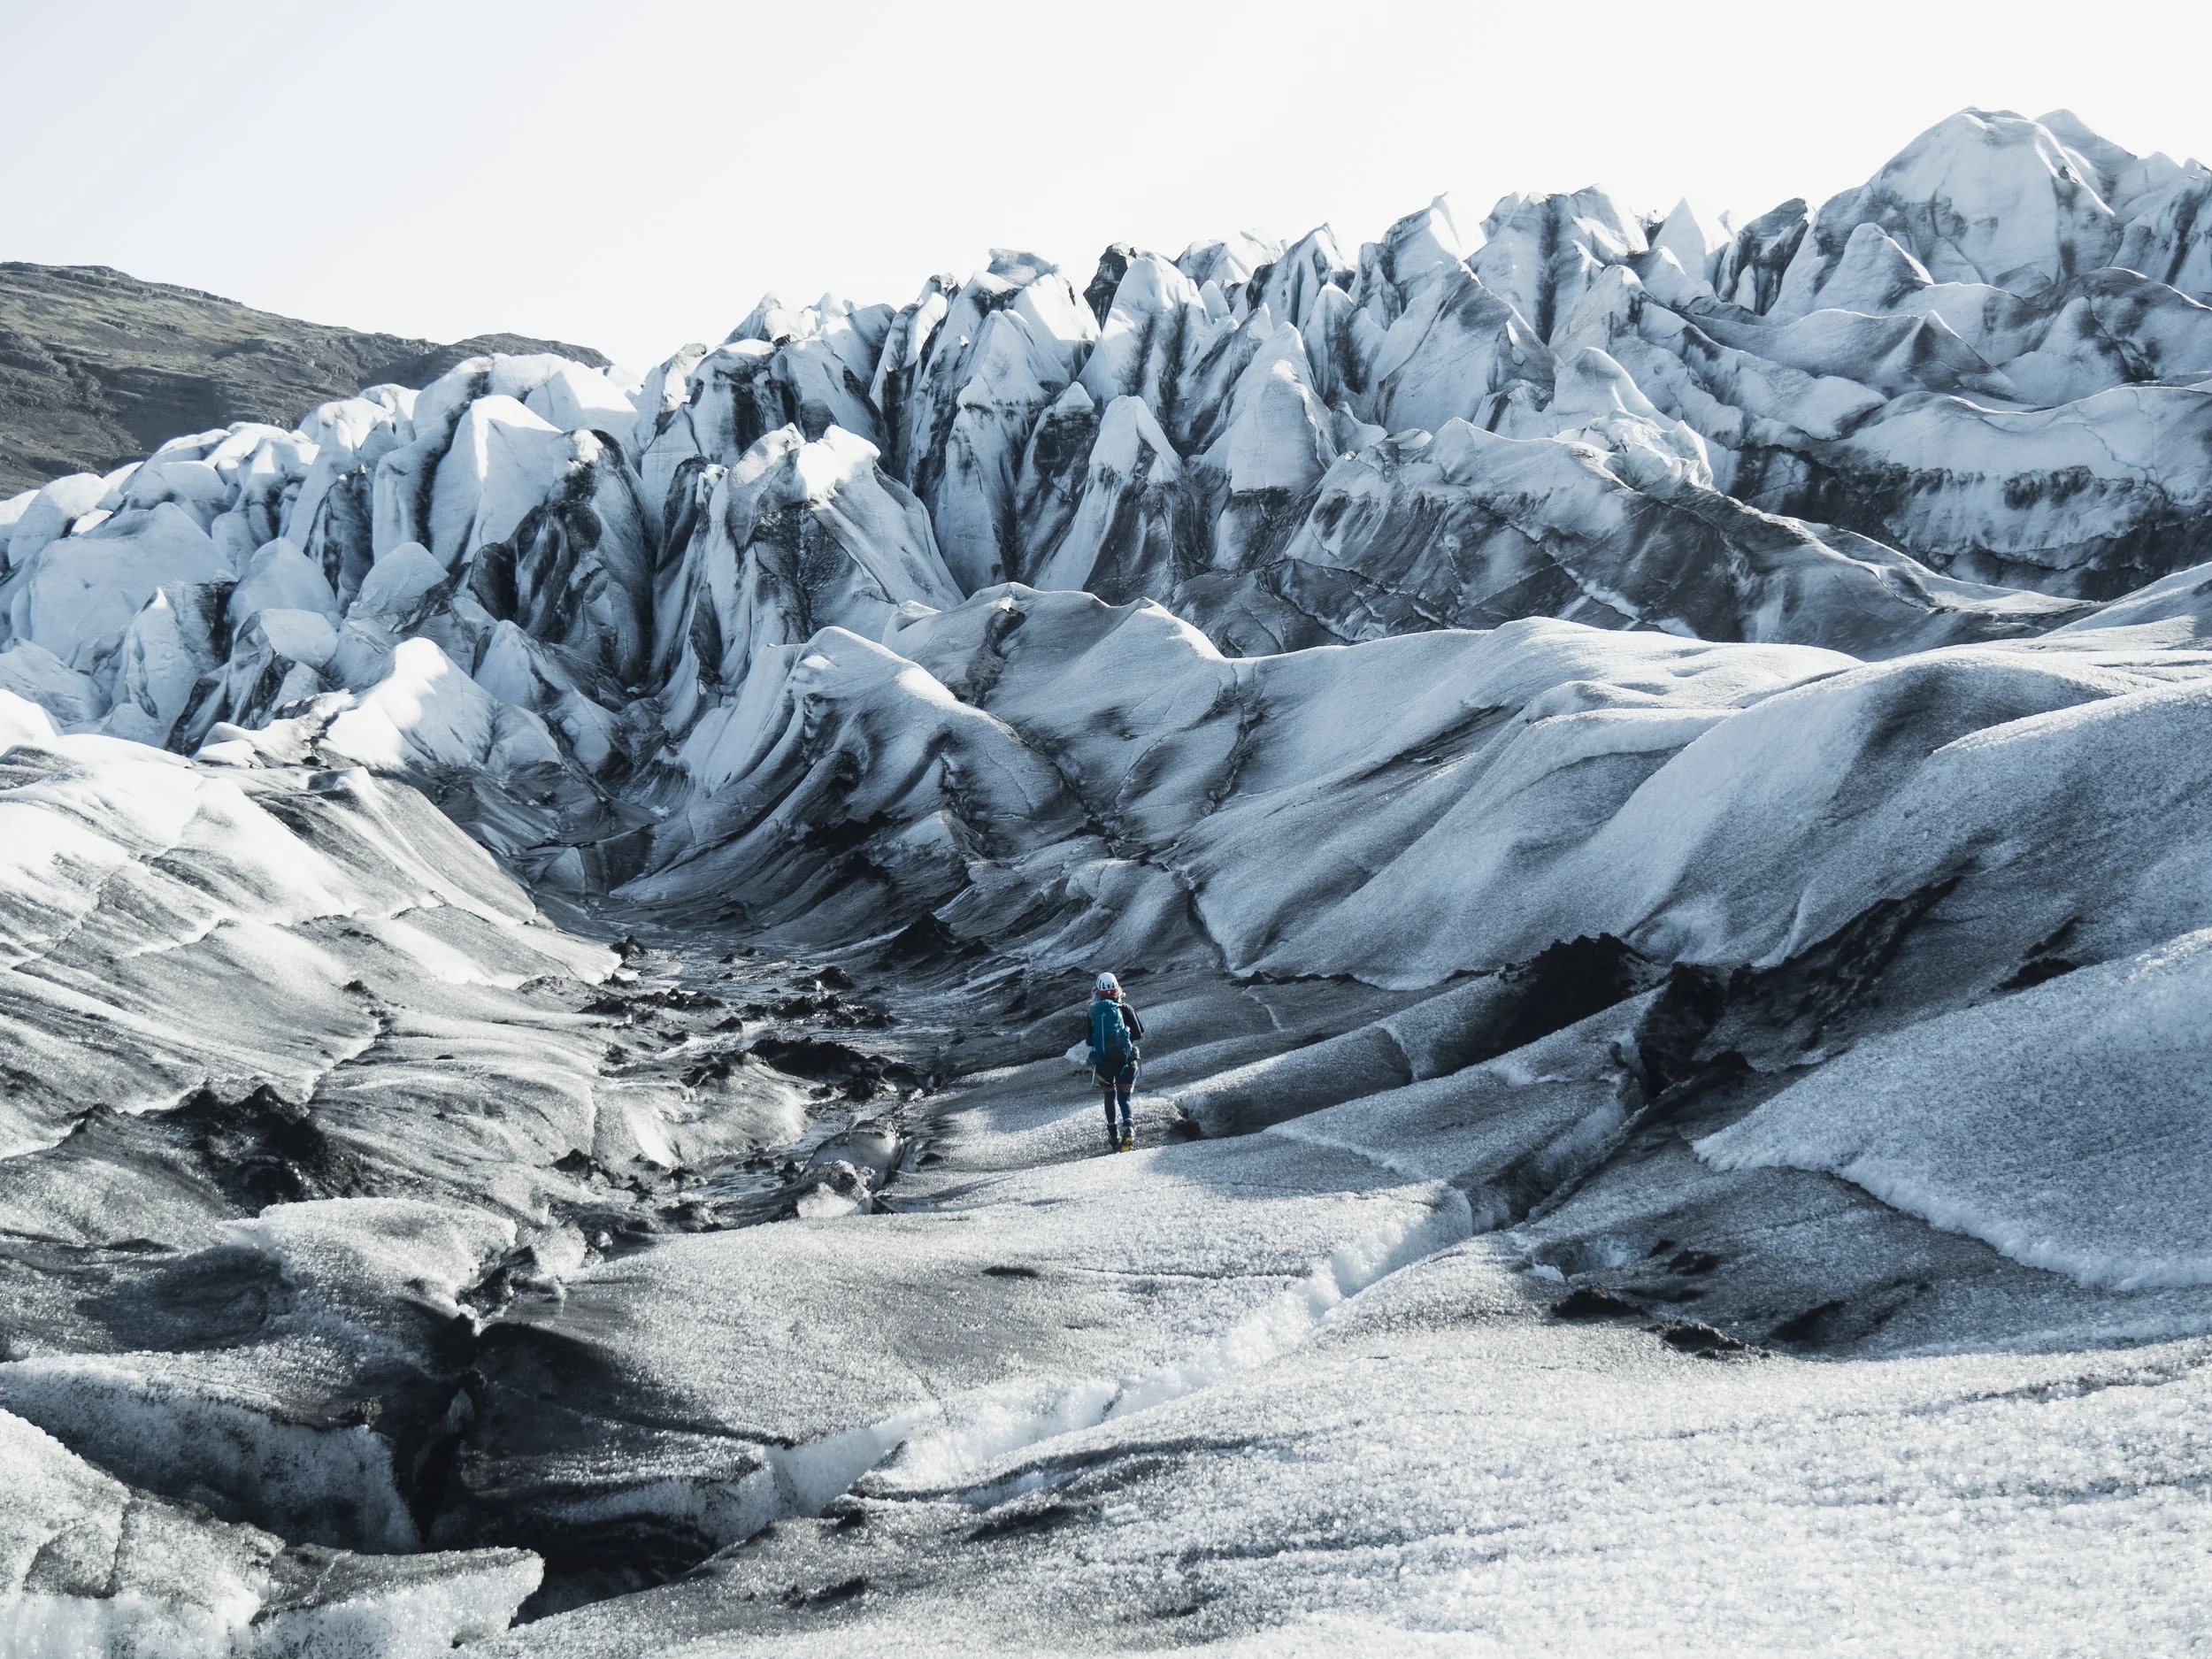
Firstly, Sólheimajökull near Vík is the closest glacier to Reykjavík which is accessible for tours. The front of the glacier is covered in volcanic ash from an eruption of nearby Katla volcano in 1918. After navigating this initial ash-blackened section, where there is usually only one way up or down, you come to a plateau which often has a range of features to explore- moulins, crevasses and canyons. As it is the easiest glacier to visit for those based in the capital region, it can be busy with many companies operating tours.
Next are the majestic glaciers of Vatnajökull. Vatnajökull is Iceland’s largest glacier, extending 140 km at its widest point. There are two main centres for glacier tourism,at Falljökull and
Breiðamerkurjökull.
Falljökull is a steep outlet glacier close to Skaftafell. Although it is quite small, it has a very impressive icefall (steep section of broken ice), and often nice crevasses and small moulins. Two of Iceland’s largest glacier guiding companies operate here, and numerous smaller companies, so it can get very busy in the middle of summer.

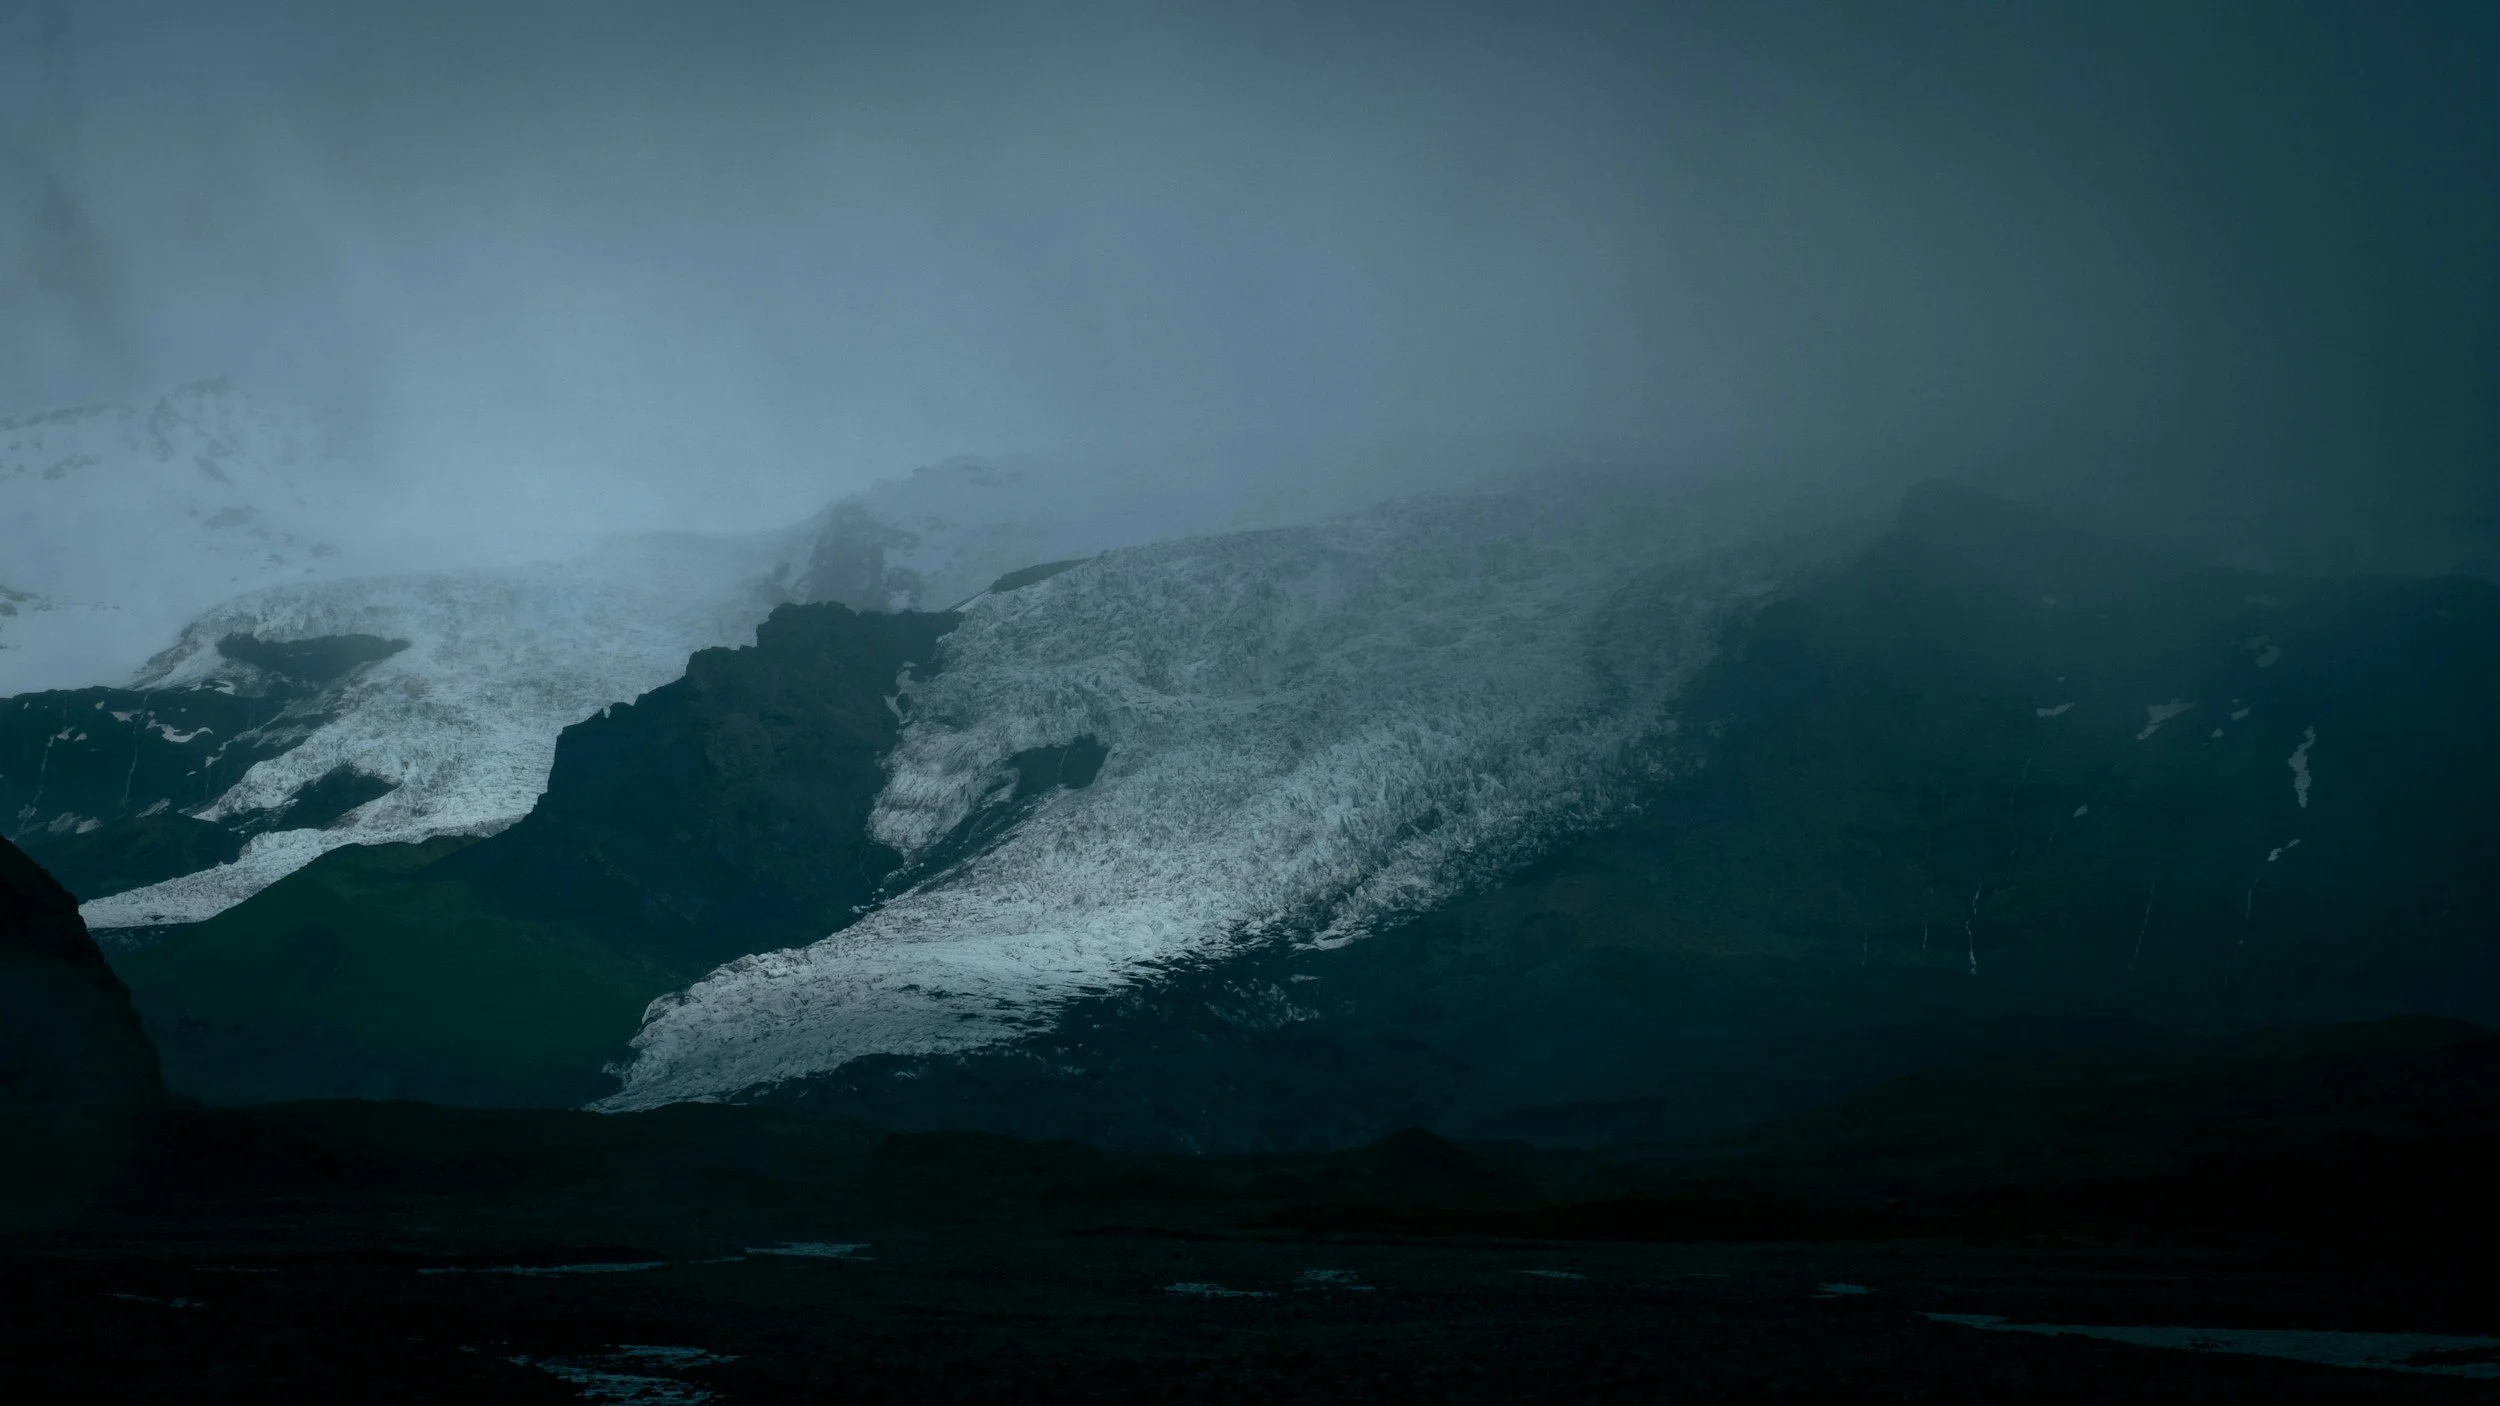
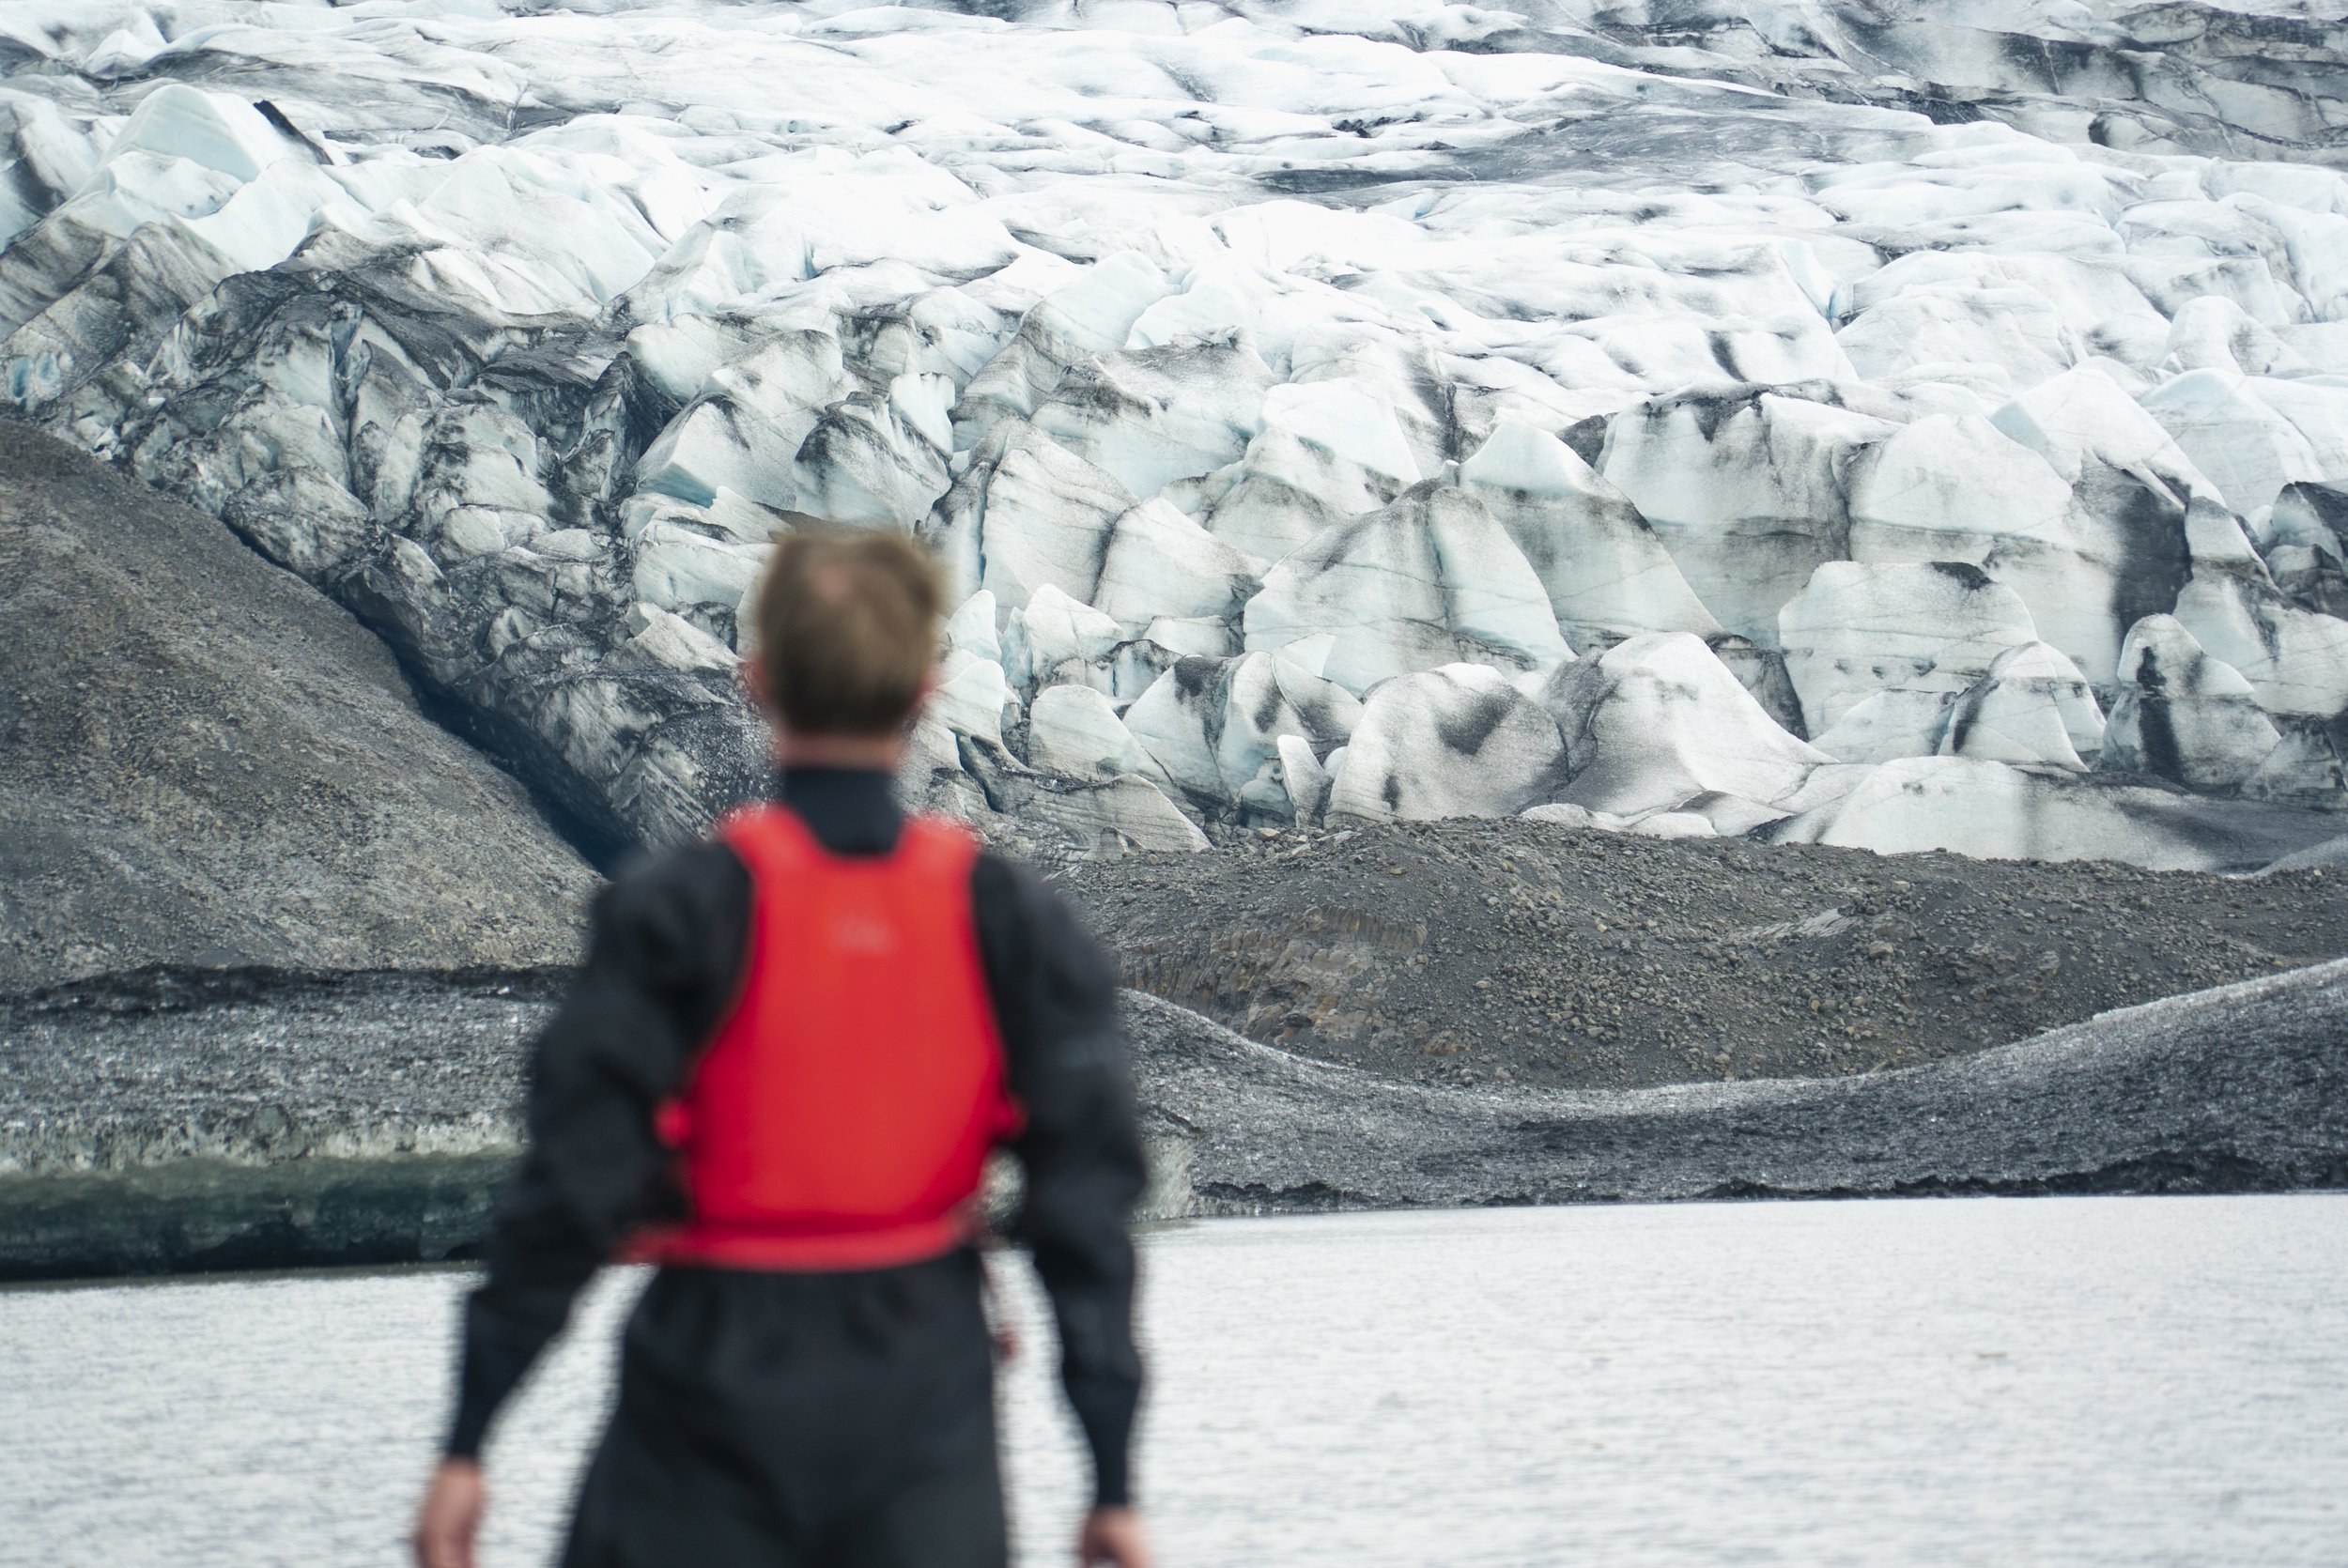
Breiðamerkujökull glacier calving site from the west.
Then comes Breiðamerkurjökull: a wide, flat glacier which flows into Jökulsárlón glacier lagoon. Due to its size, the features that form here can be much larger than the glaciers mentioned previously; huge moulins, canyons and tunnels are frequently carved out by the massive amounts of meltwater than drain through the glacier in the summer and autumn. In large parts of the glacier there are no crevasses, but they can be found in abundance at the calving site- where the glacier is breaking into Jökulsarlón to form icebergs. Dirt and debris accumulate at the edge of the glacier during the summer, which eventually turns the ice completely black. When this dirt gets washed away by autumn rains, clear blue ice is revealed beneath. This is our favourite winter glacier as the clarity and colour of the ice can be unreal. In the summer, we prefer to visit smaller glaciers with cleaner ice, unless we are making a visit to the glacier calving front (one of the best views in Iceland!).
Where do we operate?
Well, we actually operate somewhere totally different! Our glacier hike and kayak tour involves reaching a remote glacier by paddling across a lake- a unique way to access the glacier and one that ensures that we are away from the crowds. We visit Fláajökull, a glacier close to our home in Höfn. Fláajökull has beautiful clean ice, huge crevasses and deep moulins, making it the perfect place to explore. The natural contours of the ice mean that the routes we take can sometimes be technical and complex, but never too difficult to halt our progress- perfect for the adventurous tours that we want to run.
Fláajökull is an incredibly active and fast-flowing glacier, meaning that we can often here cracks and groans in the ice as pressure builds up and releases.
It is a real privilege to be able to take guests on Fláajökull. Having spent years guiding on the glaciers mentioned above, it makes a real difference to the experience to traverse a glacier completely alone, often many kilometres from the nearest other human.
Safety on the glacier
Glaciers can be dangerous. As well as staying safe next to big cracks in the ice, where a fall could spell disaster, we need to be aware of the hazards of unstable ice structures. Complex terrain can mean a difficult extraction in case of an injury, so we do our utmost to ensure that our clients stay safe; even a twisted ankle can become a major complication in a remote location.

So, how do we stay safe whilst enjoying everything the glacier has to offer?
As soon as we leave the car, we accept a certain level of risk by partaking in such an activity. Going hiking on a glacier will always be more dangerous than staying in your hotel room, but it needn’t be unnecessarily so.
With proper instruction in crampon and ice axe techniques, we can turn a dangerous ice slope into a simple walk. With the use of ice screw anchors and climbing rope, we can turn a fall hazard into a safe passage.
In complex glacial terrain, there is no one-size-fits-all solution, which is why we use a mixture of soft-skills (instruction, coaching, route choice), hard-skills (ropework, rescue systems and equipment), and PPE (helmets and gloves) to keep the group safe.
These soft and hard-skills make up our box of tricks, which we can use when an obstacle blocks our progress on the glacier.
And guess what? If we reach a hazard that our box of tricks can’t deal with, sometimes we make the decision to turn around. That is just part of the game when we are exploring these ever-changing masses of ice.
All glacier guides operating in Iceland need to have completed accredited courses from the Association of Icelandic Mountain Guides, which includes training in the hard and soft-skills mentioned above. The guide scheme uses a three-tiered structure, with progressively more experience required to complete each course.
Is it beginner friendly?
In a word, yes! Obviously, very few people have experience with glaciers in their home countries, so there is no requirement to have knowledge of glacier travel before going on a glacier hike.
However, depending on the tour you choose, there will be a certain level of fitness required.
The most common formats of tours are:
Short glacier hike (1 – 1.5 hours on the glacier)
These tours are suitable for most people, including kids over 10 years old.
The tours often focus less on hiking a great distance, and more on educating and showcasing the features of the glacier.
Half-day glacier hike (3 – 4 hours on the glacier)
These tours are more suited to active people. They often involve more ascent and more complex terrain (navigating steeper slopes requiring good crampon technique).
Higher distance covered, although time is still taken to show different features.
Full-day tours (7 – 8 hours total tour time)
Similar to the half-day tours, but with more distance covered. This enables to group to reach more remote spots.
Tailored towards active people who undertake independent hikes in their free time.
More of a sense of exploration versus the other tours, which will often follow a similar route each time.
Ice climbing tours
Usually a full day tour (7 – 8 hours) with three climbing locations, although some companies may offer a taster tour (4 – 5 hours) with one climbing location.
Begins with basic instruction, followed by progressively harder climbing locations
Longer periods of downtime whilst the ropes are set-up, people are climbing etc.
Similar distance covered as the half-day tours.
Climbing inside a crevasse or moulin can be a highlight experience for some!
There you have it: everything you need to know about glacier hiking in Iceland.
Still have questions? Our inbox is always open! Send us a message via our contact form.